Build a Smart Pomodoro Productivity Timer: Web Development Tutorial | AI Valley
Welcome to another step-by-step tutorial from the technical team at AI Valley! Situated right here in Zirakpur, AI Valley is the premier hub where young minds and ambitious adults build real-world tech projects to master practical software engineering skills. Today, we are diving into the exciting world of web development to create a highly interactive and useful application: a Smart Pomodoro Productivity Timer.
If you have been searching for the best coding classes for kids in Zirakpur, you will absolutely love this guide. This project perfectly mirrors the hands-on approach we take in our Tricity coding camps. You won't just be copying code; you will learn the foundational pillars of the web—HTML, CSS, and JavaScript—all while building a productivity tool you can actually use in your daily life.
🎯 What You Will Build and Why It Matters
The Pomodoro Technique is a globally recognized time management method developed in the late 1980s. It breaks work down into intervals, traditionally 25 minutes in length, separated by short 5-minute breaks. This method trains your brain to focus intensely without burning out.
In this comprehensive tutorial, you will build a sleek, web-based Pomodoro Timer that features a live countdown display, functional Start, Pause, and Reset controls, and an automated audio alarm system when your study time is up.
When parents ask our expert instructors about the best coding classes for kids in Chandigarh, we always emphasize the importance of building tools that solve real-world problems. Projects like this Pomodoro timer are a staple in our foundational curriculum because they teach conditional logic, user interface (UI) design, and practical state management all at once.
📋 Prerequisites & Materials
To build this application, you won't need to purchase any expensive software or complex licenses. All you need is a basic computer setup:
Let's get coding!
Step 1: Setting Up the HTML Structure
Every web application starts with a solid foundation. In web development, HTML (HyperText Markup Language) serves as the skeleton of our app. Students taking our web development courses often start by structuring their apps with semantic HTML to ensure everything is organized logically before applying any visual designs.
First, create a new folder on your computer desktop called pomodoro-app. Inside this new folder, create a file named index.html. Open this file in VS Code and add the following code:

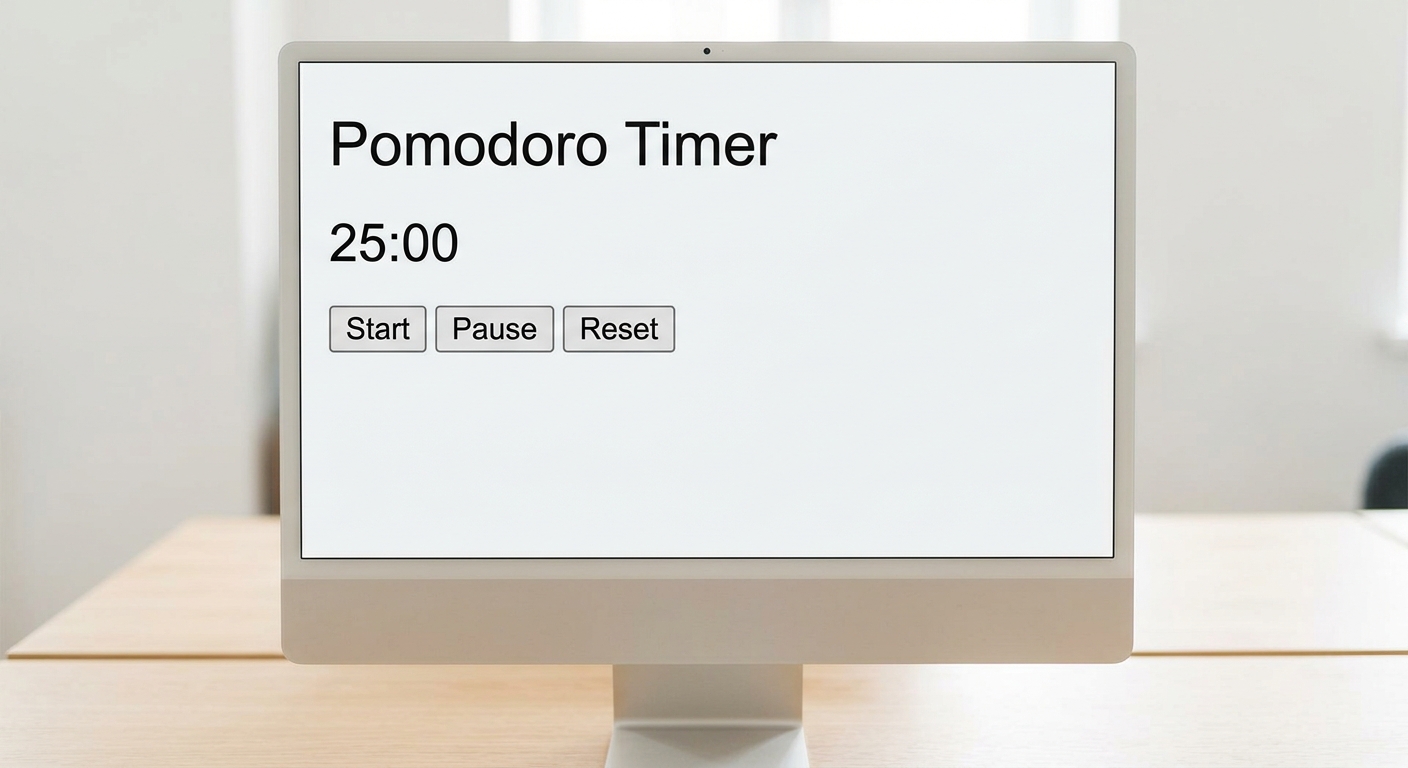
A screenshot of plain HTML text on a browser showing the unstyled structure of the Pomodoro timer controls and text.
What this code does:
This code constructs the core layout of our web page. We start with the standard HTML5 boilerplate. Inside the tag, we create a main wrapper called . This acts as a "card" holding all our elements together.Inside this container, we place an heading, a specialized with the ID time-display (which will eventually hold our live ticking numbers), and a section grouped for our control buttons. Notice the tag in the and the tag at the very bottom—these act as vital bridges, connecting our upcoming CSS and JavaScript files to this structural HTML skeleton.Expected Output: If you open index.html in your web browser right now, you will see a very plain, unformatted page with standard black text saying "Focus Timer", "25:00", and three basic grey buttons aligned to the left.
Step 2: Styling the Application with CSS
During our weekend bootcamps, we emphasize the importance of clean user interfaces. A good UI keeps users engaged and prevents visual fatigue. We will use CSS (Cascading Style Sheets) to transform our basic HTML into a modern, sleek application. We are also going to use CSS Variables—a best practice in modern web design that makes updating colors incredibly easy.
Create a file named style.css in your pomodoro-app folder and add this code:

A screenshot of the styled dark-themed Pomodoro timer with a central clock display, sleek typography, and three colorful control buttons.
What this code does:
First, we define :root variables. By storing our colors inside variables like --bg-main, we can change the entire color scheme of our app later by editing just one line of code!Next, we utilize CSS Flexbox on the body element (display: flex; justify-content: center; align-items: center;). This is a powerful layout module that perfectly centers our timer horizontally and vertically in the middle of the screen. We give the background a modern dark theme and use a secondary dark color for our .timer-container card, adding a box-shadow to make it visually "pop" off the background. The .time-display is scaled up to 6rem so it is easily readable from across the room. Finally, we style the buttons with distinct colors (green for start, yellow for pause, red for reset) and add a hover transition so they "lift" slightly when the mouse hovers over them.
Expected Output: Refresh your web browser. You should now see a beautifully designed, dark-themed interface centered on your screen. The bright green timer and styled buttons should feel tactile and react smoothly when you hover over them.
Step 3: Initializing JavaScript and Connecting the DOM
Now comes the "brain" of our application. HTML is the skeleton, CSS is the skin, but JavaScript is the muscle that makes everything move and function.
Create a file named script.js in your folder. Let's start by defining our application state variables and connecting our HTML elements to JavaScript.

A screenshot showing a VS Code editor with JavaScript variable declarations and Document Object Model (DOM) element selections.
What this code does:
First, we declare timeLeft and set it to 1500. Computers calculate and deduct time much easier in seconds rather than minutes, so 25 minutes multiplied by 60 seconds gives us 1500 total seconds. We create an empty variable timerInterval which will eventually manage our background countdown clock.The isRunning boolean (true/false) variable acts as a critical safety lock. It prevents users from aggressively clicking the "Start" button multiple times, which would otherwise trigger multiple overlapping countdowns and glitch the clock. Finally, we use document.getElementById() to grab our HTML elements so we can manipulate their text and behavior using JavaScript.
Step 4: Creating the Timer Formatting Logic
As a premier hub for STEM education in the Tricity, we believe in teaching the underlying math behind the code. We currently have 1500 seconds, but we need to show the user a clean "25:00" format. Let's write a function to handle this mathematical conversion.
Add this code to your script.js file:

A visual diagram representing how total seconds are divided by 60 to find minutes, and how the remainder represents the seconds left.
What this code does:
The Math.floor() function divides our total seconds by 60 and rounds down to give us the absolute whole minutes left. The modulo operator (%) divides the seconds by 60 and returns only the remainder—this clever math trick gives us the leftover seconds.Next, we use a highly useful JavaScript string method called .padStart(2, '0'). This ensures that if the seconds drop to a single digit like 9, it displays as "09" rather than just "9", preventing our clock layout from aggressively shifting left and right. Finally, we inject this newly formatted text string into the textContent of our display, and we also update document.title to make the timer visible right on the browser tab!
Step 5: Building the Start, Pause, and Reset Logic
Now, we need to wire up our buttons to actually trigger the countdown loop. Add the following event listeners to the bottom of your script.js file. Also, notice the very last line of code we add!

A screenshot showing the fully functional Pomodoro timer counting down to 24:58, with the user clicking the start button.
What this code does:
We attach an addEventListener to each button, listening for a mouse 'click'.
When Start is clicked: We check if the timer is already running. If not, we use setInterval(), a built-in JavaScript function that runs a block of code repeatedly at a specified interval (1000 milliseconds equals exactly 1 second). Inside this loop, we subtract 1 from timeLeft and instantly update the display. If time reaches 0, we clear the interval to prevent memory leaks, play our audio sound, and show a browser alert.
When Pause is clicked: We use clearInterval(timerInterval) to stop the repeating loop dead in its tracks, freezing the countdown exactly where it is.
When Reset is clicked: We stop the loop, forcefully reset timeLeft back to 1500, and call updateDisplay() to refresh the screen back to a fresh "25:00".
Finally, calling updateDisplay() at the very bottom ensures that as soon as the user opens the page, the JavaScript syncs up the HTML display properly.🎉 Final Result
Congratulations! You have successfully built a complete, interactive web application entirely from scratch. You've learned how to structure semantic HTML, style modern UI elements with CSS Variables and Flexbox, manipulate the DOM, and safely manage application state using JavaScript timing events.
By completing this tutorial, you are doing more than just copy-pasting—you are mastering the core fundamentals of front-end development. These exact concepts are required to build complex modern software platforms.
🚀 Challenge: Take It Further
In our advanced software development classes at AI Valley, we always push students to expand their projects by adding custom features. Try challenging your new skills with these upgrades:
Custom Work Durations: Add HTML fields that allow the user to type in their own custom work time (e.g., 45 minutes) instead of being permanently locked to 25 minutes.
Break Mode Toggle: Add a dedicated "Short Break" button that instantly sets the timer to 5 minutes (300 seconds) and uses JavaScript to change CSS variables, flipping the background color to a relaxing ocean blue.
To-Do Task Tracker: Combine this project with a simple input form so users can type out the exact task they are currently focusing on while the timer runs, storing it in an HTML list. 🏫 Keep Learning at AI Valley
Did you enjoy this hands-on coding project? AI Valley is proud to be the top-rated coding, AI, and robotics institute, proudly serving ambitious students and professionals across Chandigarh, Mohali, Zirakpur, and Panchkula. Our expert industry instructors teach interactive, project-based classes just like this one every single week.
Whether you are seeking introductory logic courses or advanced Python Machine Learning bootcamps, we have the perfect tailored learning path. Start your journey into tech with the best mentors in the region.
Ready to level up your skills? Visit aivalley.co.in today to explore our curriculum, check out our state-of-the-art labs, and Enroll at AI Valley! Let's shape the innovators of tomorrow, together.
Tags
web development course Mohalibest coding classes for kids in Mohalicoding institute near me MohaliSTEM education TricityAI classes for kids Zirakpur Chandigarh PanchkulaJavaScript tutorial for beginnersPomodoro timer projectlearn coding Mohalikids programming Mohali
