
Build a Secure Password Generator GUI: A Hands-On Python Tutorial | AI Valley
Welcome to another exciting, hands-on coding tutorial! At AI Valley, the premier destination for tech education in Zirakpur and the wider Tricity region, our students build real-world, interactive projects like this every single week. Today, we are diving into software development by building a Secure Password Generator App with a Graphical User Interface (GUI) using Python. Whether you are a young coder or an adult automating daily tasks, creating desktop applications is a thrilling milestone. Let's get started!
🎯 What You Will Build Today
In this comprehensive tutorial, you will build a standalone desktop application where users can type in their desired password length, click a "Generate" button, and instantly receive a highly secure, randomized password containing letters, numbers, and symbols. We will also include a handy "Copy to Clipboard" feature to make the app practically useful for everyday web browsing.
This is exactly the kind of practical, logic-driven utility project students build at AI Valley to master user interface design, event-driven programming, and core Python concepts. By completing this project, you are taking a massive step from writing simple text-based scripts to developing visual applications that anyone can use.
📋 Prerequisites & Materials
Before we begin coding, let's make sure your development environment is fully set up. You won't need to download any complex third-party tools for this build:
Python Installed: You need Python 3.10 or newer installed on your computer. You can download the latest version for free from python.org.
Code Editor: We highly recommend using Visual Studio Code (VS Code), PyCharm, or Python's built-in IDLE.
Built-in Libraries: We will use tkinter for the interface, random for generating unpredictable characters, and string to easily access the alphabet and symbols. Because these come pre-packaged within Python's standard library, you don't need to use pip install for anything extra!
A Learning Mindset: Bring your curiosity and readiness to debug! If you are a parent searching for the best coding classes for kids in Mohali, you can always visit our state-of-the-art campus where all computers, premium software, and hardware materials are provided for our students.
Step 1: Setting Up the Main Application Window
The first step in building any GUI (Graphical User Interface) application is to create the foundational root window. Think of this main window as the blank canvas where we will eventually place all of our buttons, text boxes, and text labels.
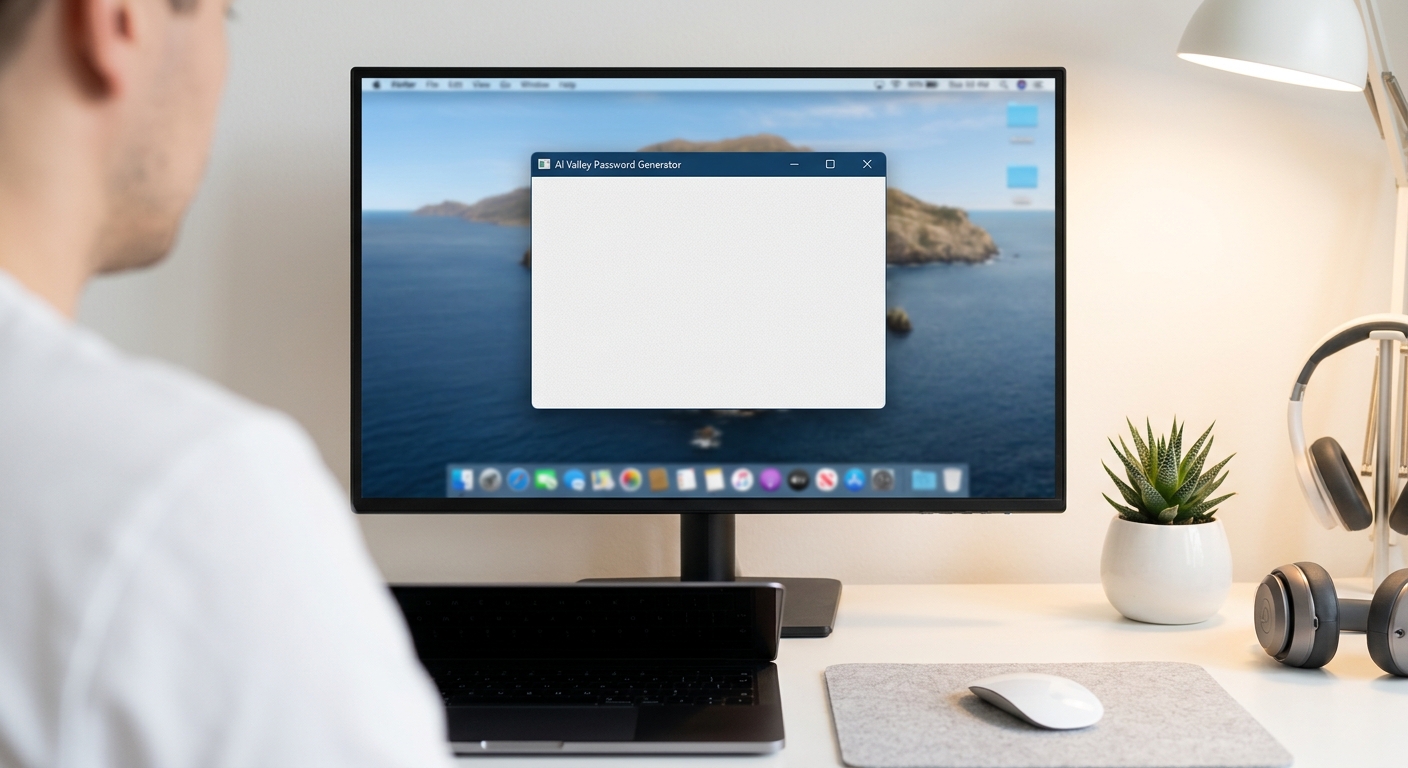
A screenshot of a blank, light gray application window with the title "AI Valley Password Generator" at the top.
Understanding the Code:
First, we import our necessary modules.tkinter is Python's standard, lightweight GUI library. We also import random for randomizing characters and string to give us quick access to a library of letters and symbols. We also import messagebox specifically to handle error pop-ups later on.We then initialize our main application window using tk.Tk(). We assign it to a variable called root. We give our window a title, and set its default starting size to 400 pixels wide by 350 pixels tall using the .geometry() method. The .config(bg="#f0f0f0") line gives our app a sleek, modern light-gray background color using a standard hex code.
Finally, the most critical line is root.mainloop(). This command tells Python to keep the application window continuously open and actively listening for user actions, like mouse clicks or keyboard presses.
Instructor Tip: When we teach our introductory Python programming courses in Chandigarh, we always emphasize the importance of the mainloop(). If you forget to include it at the very bottom of your script, your application will open and instantly close in a fraction of a millisecond!
Step 2: Creating the User Interface (Labels & Inputs)
Now that we have an active window, it's time to add our widgets. "Widgets" is the technical term for the visible elements of an interface, such as text labels, input boxes, sliders, and checkboxes. For our app, we need to ask the user exactly how long they want their secure password to be.
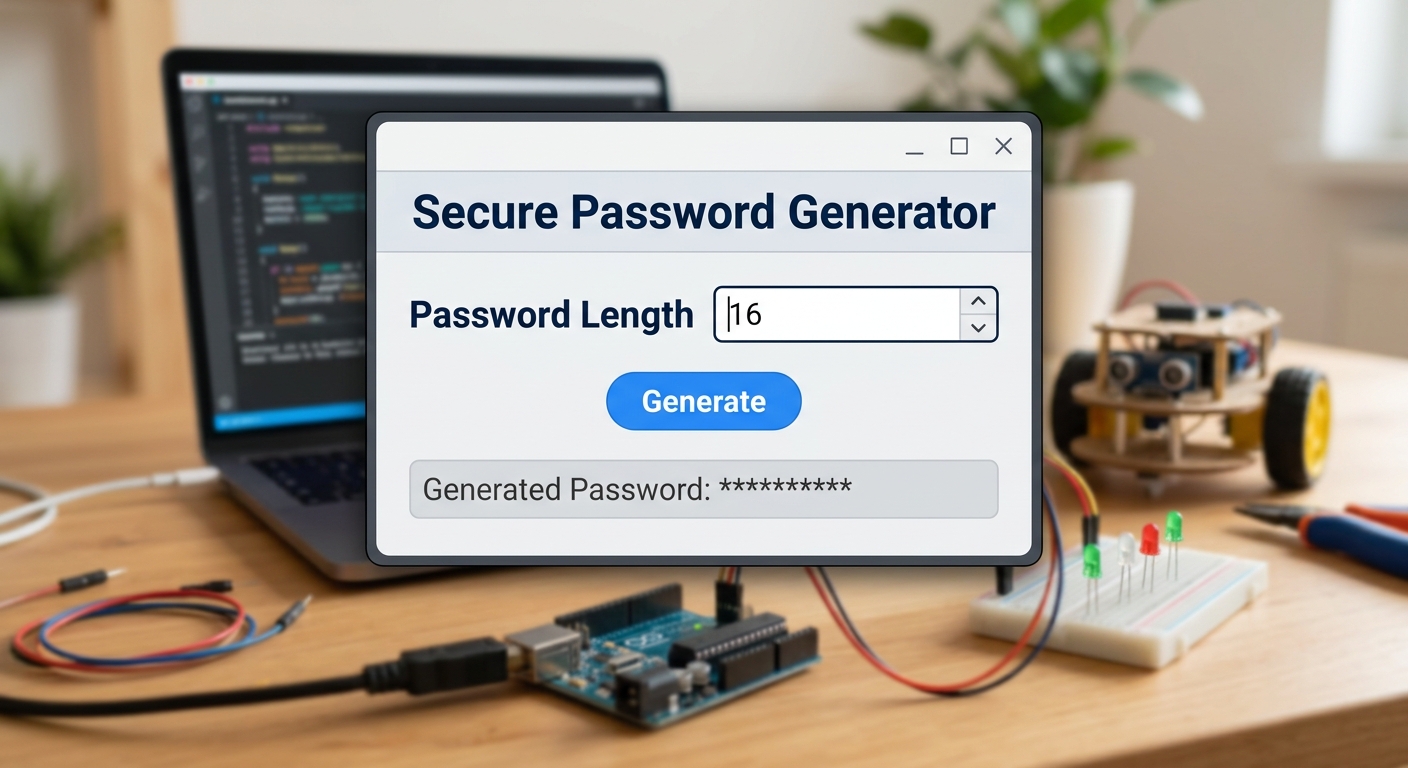
A screenshot showing the application window now containing a bold title "Secure Password Generator" and a text entry box asking for "Password Length".
Understanding the Code:
We usetk.Label to render non-editable text onto the screen. By passing the font parameter, we can easily dictate the font family, text size, and weight (making the main title a bold size 16).Next, we use the tk.Entry widget to create a single-line text box where the user can type their desired number. We link this text box directly to a tk.StringVar(). A StringVar is a special Tkinter object designed specifically to track and store whatever the user types into the box in real-time. Notice that we set value="12", which gives the user a solid default password length right out of the gate.
Also, notice the .pack(pady=10) method called at the end of every widget. Tkinter features several "geometry managers" that dictate where widgets go. The .pack() system simply stacks elements vertically on top of one another. The pady=10 parameter adds 10 pixels of vertical padding (empty breathing room) so our interface elements don't look squished together.
Parents often tell us they are amazed at how quickly kids can design visual apps. Tkinter's packing system makes layout design incredibly intuitive, which is why it's a staple in our curriculum for the best coding classes for kids in Panchkula.
Step 3: Writing the Password Generation Logic
A beautiful interface is great, but our app needs a brain. We need to write a custom Python function that reads the user's desired length, validates it, and generates a highly secure string of randomized characters.

A conceptual graphic showing letters, numbers, and symbols swirling into a funnel and coming out as a secure password string like "Xk9$mP!2".
We will place this logic function above our widget code but below our imports.
Understanding the Code:
Inside ourgenerate_password function, we first try to fetch the user's input using length_var.get() and convert it into a whole number using int(). Why wrap this in a try/except block? If a user accidentally types a word (like "ten") instead of a number (like "10"), the application would crash. The except ValueError block catches this mistake and triggers a friendly error pop-up.Next, we establish our character pool. By adding string.ascii_letters, string.digits, and string.punctuation together, we create one massive string containing abcdefghijklmnopqrstuvwxyzABCDEFGHIJKLMNOPQRSTUVWXYZ0123456789!"#$%&'()+,-./:;<=>?@[\]^_{|}~.
The real magic happens here: ''.join(random.choice(characters) for _ in range(length)).
This is an advanced Python feature called a generator expression inside a string joiner. It basically loops exactly length times. On every single loop, random.choice() picks one random character from our massive pool. Finally, ''.join() glues all those individual random characters together into one seamless password string.
Step 4: Connecting the Logic to the User Interface
Now we must bridge the gap between our visual front-end interface (Step 2) and our underlying back-end logic (Step 3). We will introduce a clickable "Generate" button and a read-only output box to display the final password securely to the user.
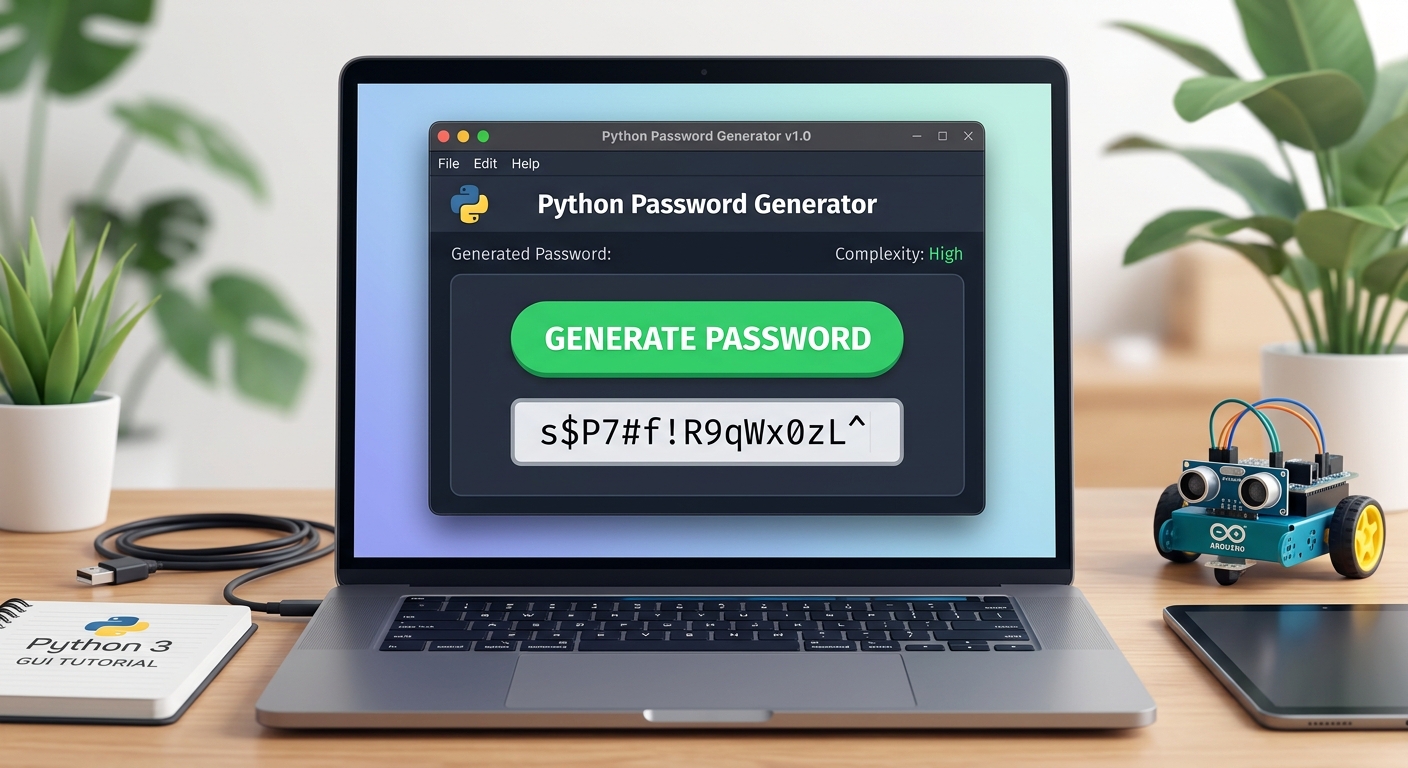
A screenshot of the app showing a green "Generate Password" button and a text box below it displaying a newly generated complex password.
To make the result appear in the box instead of printing to the console, we simply update our generate_password() function from Step 3 to include result_var.set(password) instead of print(...).
Understanding the Code:
We've created a vibrant green button using tk.Button. Notice the parameters: bg sets the background color, and fg (foreground) sets the text color to white. The most crucial part of this widget is the command=generate_password parameter. This introduces event-driven programming*. We are telling Tkinter: "When the user clicks this button, immediately execute the generate_password function."We also added a new
tk.Entry widget to display the final result. Notice that we set state="readonly". This is a fantastic user experience (UX) trick. It ensures the user can copy the newly generated password, but they cannot accidentally type over it or delete it directly inside the box.Step 5: Adding a "Copy to Clipboard" Feature (Full Final Code)
To make our application truly professional and ready for daily use, we must include a "Copy to Clipboard" button. Nobody wants to memorize a complex string like
#Hk9$2mP! just to type it manually into another browser tab! Let's put everything together into one final, polished script.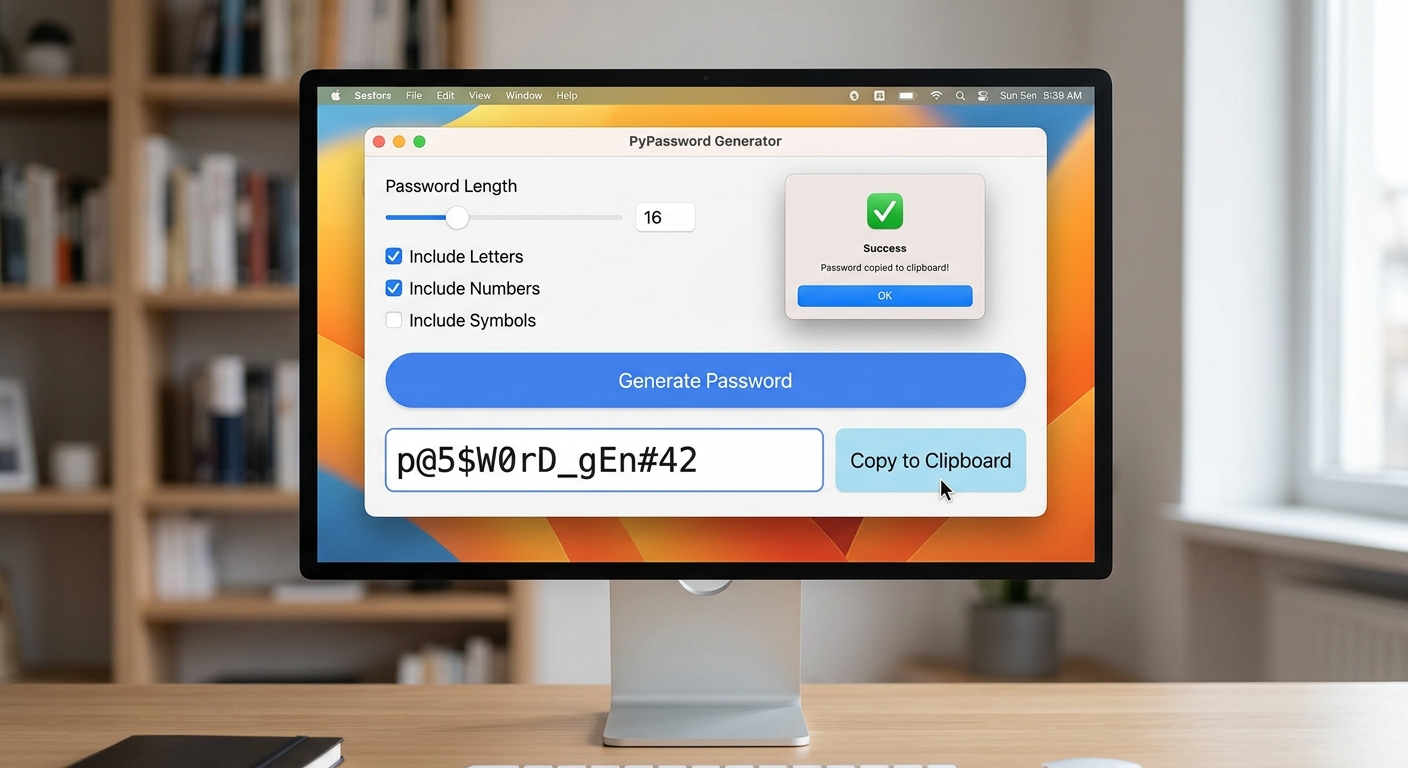
A screenshot of the fully completed application showing the Generate button, the password output box, the blue "Copy to Clipboard" button, and a small "Success" pop-up saying the password was copied.
Understanding the Code:
We added a dedicated copy_to_clipboard() function. When triggered, it reads whatever text is currently stored inside result_var. If a password exists, it uses root.clipboard_clear() to wipe your computer's short-term clipboard memory, and root.clipboard_append(password) to inject the new password. Finally, it launches a friendly messagebox.showinfo pop-up confirming that the copy was successful!Expected Output:
Copy and run this complete code block in your IDE. A clean, custom graphical window will instantly appear on your screen. Enter a number like 16, hit the Generate button, and watch your ultra-secure password appear. Click "Copy to Clipboard" and you can immediately paste it anywhere!
🎉 Final Result
Congratulations! You have successfully built a fully functioning, interactive desktop application entirely from scratch. You didn't just copy code; you learned how GUI mainloops operate, how to manage application state with StringVars, how to handle user errors gracefully, and how to connect underlying logic to visual interface buttons. These are the exact same fundamental concepts utilized by professional software engineers to build the mobile and desktop apps you rely on every day.
🚀 Challenge: Take It Further
Are you ready to level up your coding skills? Try adding these advanced features to your new application:
- Add Custom Checkboxes: Implement Tkinter
Checkbutton widgets to let the user choose if they specifically want to include or exclude symbols and numbers (e.g., creating a "Numbers Only" PIN generator).
Integrate a Strength Meter: Write logic that evaluates the password length and displays a dynamic label saying "Weak", "Good", or "Strong" in red, yellow, or green text respectively.
Dark Mode Toggle: Add a simple button that loops through all your widgets and changes their bg and fg` parameters from light mode to dark mode.
🏫 Learn More at AI Valley
Did you enjoy bringing this Python GUI project to life? AI Valley is the top-rated coding and robotics institute serving ambitious students across Zirakpur, Chandigarh, Mohali, and Panchkula. As the leading STEM education center in the Tricity area, our expert instructors teach hands-on, exciting projects just like this one every single week.
Whether your child is 5 years old and just beginning their journey with block-based visual coding, or a 17-year-old high schooler preparing for a highly advanced computer science degree, we provide a structured, engaging, and personalized learning path.
Don't wait to turn screen time into skill time. Visit aivalley.co.in or Enroll at AI Valley today to book a free trial class and kickstart your professional coding journey!