
Build a Live Weather Desktop App: A Hands-On Python API Tutorial
Welcome, future developers! At AI Valley in Zirakpur, our students build real-world, interactive projects exactly like this every single week. As the premier hub for STEM education in the Tricity area, we believe the best way to master programming is by building tools you can actually use. Today, we are going to create a fully functional, live Weather Desktop Application using Python. By the end of this step-by-step tutorial, you will have a working desktop app capable of fetching real-time weather data for any city in the world!
🎯 What You Will Build
You will build a graphical user interface (GUI) application using Python's built-in tkinter library. This app will connect to a live weather database over the internet (known as an API) to grab real-time temperatures, wind speeds, and weather conditions.
Moving away from text-based terminal outputs into graphical applications is a major milestone for beginners. This is exactly the kind of interactive, visually rewarding application our students build to master software development fundamentals.
📋 Prerequisites & Materials
Before we begin writing our code, let's gather our tools. If you are a local student and do not have a computer setup at home, simply visit AI Valley's Zirakpur lab where all materials, high-speed internet, and state-of-the-art computers are provided for our learners!
- Python 3.10+: Installed on your system.
- Code Editor: VS Code, PyCharm, or Python's default IDLE.
- Internet Connection: Required to fetch the live weather data.
- The
requestslibrary: Open your computer's terminal (or command prompt) and type:pip install requests - OpenWeatherMap API Key: A free key to access weather data securely (we will explain how to get this in Step 1).
---
Step 1: Getting Your API Key and Understanding Requests
To get live weather data, we need to ask a global weather database for it. We do this using an API (Application Programming Interface). In our best coding classes for kids in Chandigarh and Zirakpur, we teach students to think of an API as a digital waiter—you give the waiter your order (a specific city name), and it brings you your food (the weather data) from the kitchen (the remote server).
First, go to [OpenWeatherMap.org](https://openweathermap.org/), create a free account, and navigate to the API Keys section on your user dashboard to generate your unique key. It will look like a long, random string of letters and numbers.
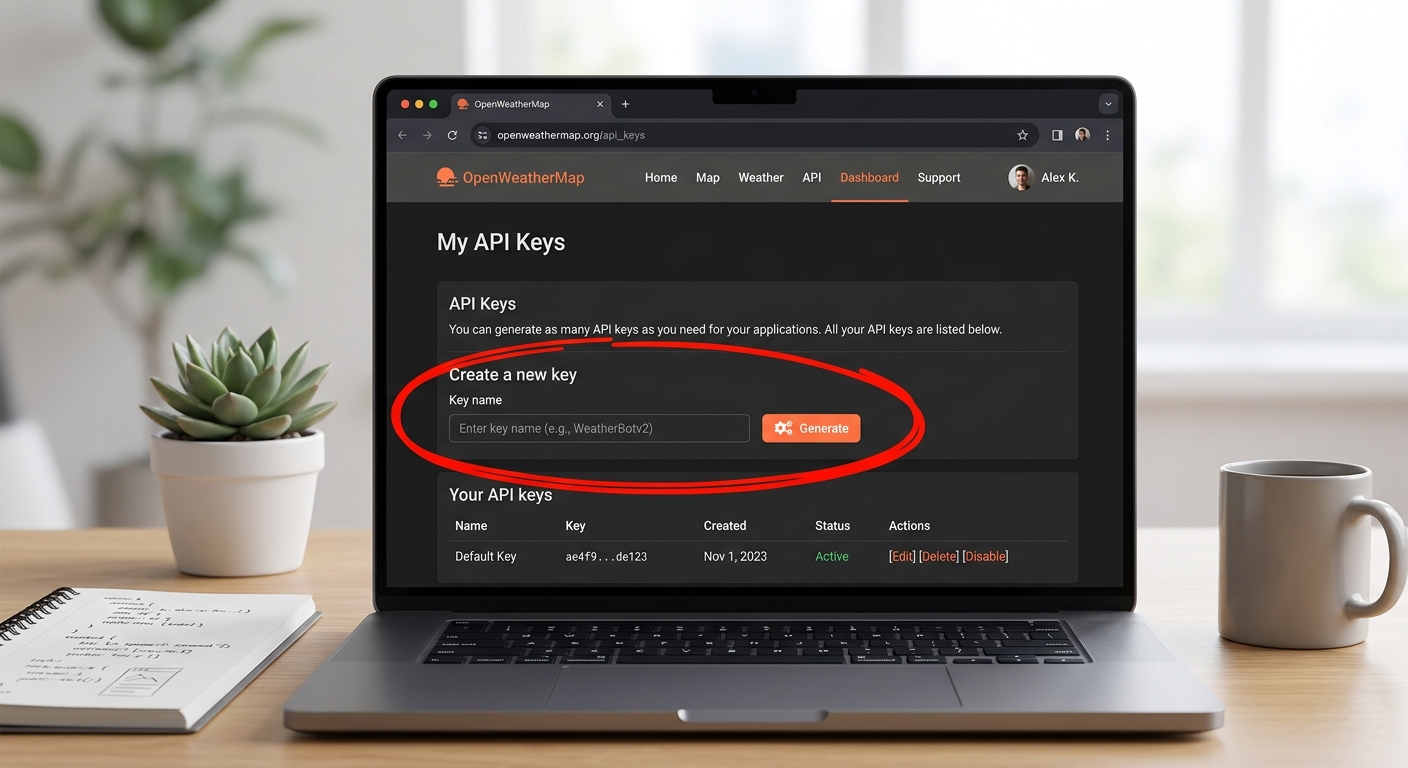
A screenshot of the OpenWeatherMap website highlighting the 'API Keys' tab on the user dashboard.
Let's write a small Python script to test if our API key is working. Create a new file called test_api.py and run this code:
What this code does:
We import the requests library, which acts as Python's browser, allowing it to talk to the internet. We build a specific URL containing our chosen city ("Zirakpur"), our secret API key, and units=metric to ensure we get Celsius instead of Kelvin. We then use requests.get() to fetch the data and convert it into a readable JSON format (which Python treats as a dictionary).
Expected Output:
When you run this in your terminal, you should see a large block of data. It might look messy, but hidden inside is exactly what we need: {'temp': 25.4, 'feels_like': 26.1, 'humidity': 60...}.
Note: Newly generated OpenWeatherMap keys can take up to 2 hours to activate. If you get a "401 Unauthorized" error, take a quick break and try again later!
---
Step 2: Creating the App Window with Tkinter
Now that we know we can successfully request data from the internet, let's build the visual interface! Nobody wants to read raw terminal text.
For those looking to learn Python in the Tricity area, tkinter is a fantastic starting point for building visual applications because it comes pre-installed with Python—no extra downloads required.
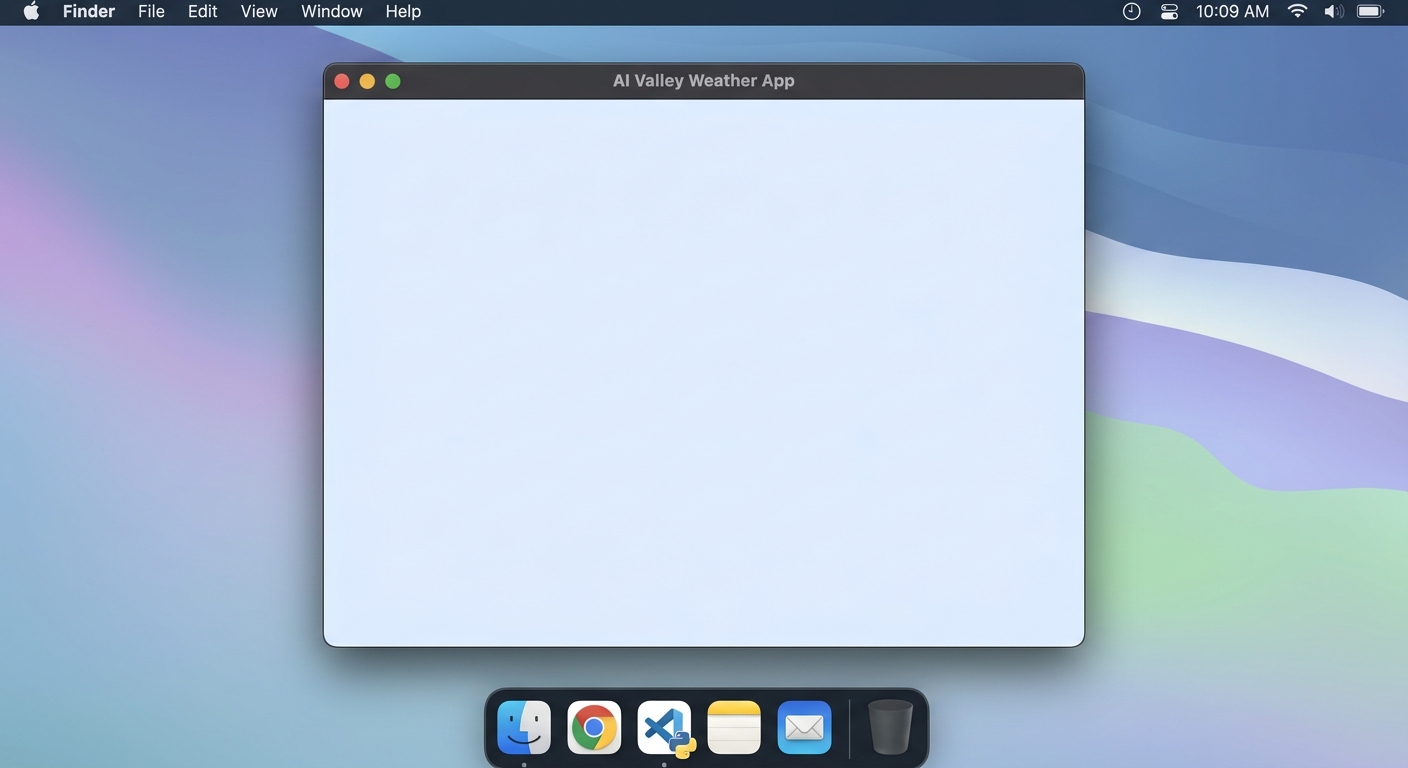
A screenshot of a blank, light-blue Python Tkinter window titled 'AI Valley Weather App'.
Create a new file called weather_app.py and add the following code:
What this code does:
We initialize a Tk() object which creates our blank canvas (the application window). We give it a title, set its size to 450 pixels wide by 500 pixels tall, and apply a pleasant light blue background using a hex color code.
The root.mainloop() command at the very end is crucial. Without it, the computer would draw the window and immediately close it in a fraction of a second. This command tells the app to stay open indefinitely and "listen" for mouse clicks and keyboard typing.
---
Step 3: Designing the User Interface (Widgets)
A blank window is a great start, but it isn't very useful yet. We need a place for the user to type a city name, a button to trigger the search, and a designated space to display the weather results. In Tkinter, these interface elements are called Widgets.
This structured, step-by-step approach is exactly why parents and students consider us to offer the best coding classes for kids in Mohali and the surrounding regions. We don't just write code; we design user experiences.
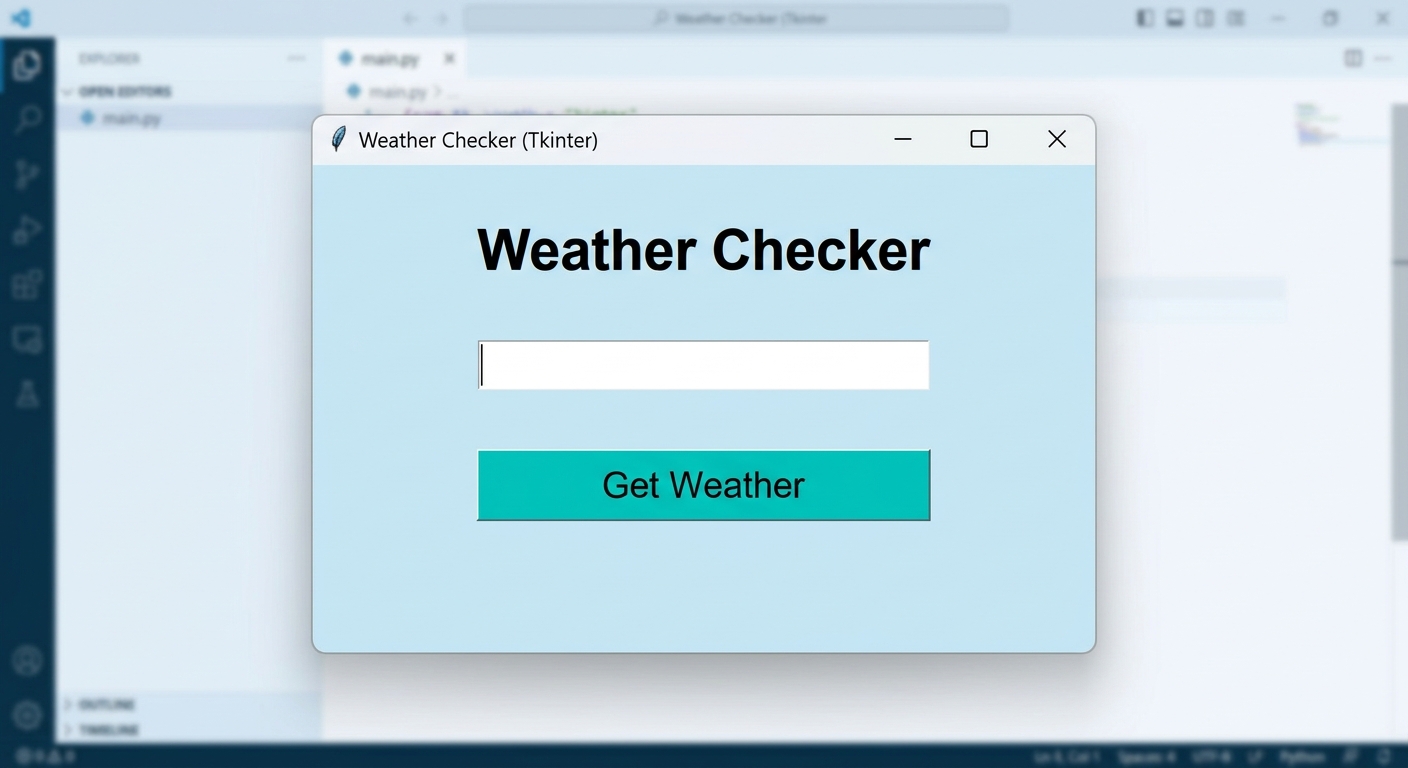
A screenshot of the Tkinter window showing a text input box, a 'Get Weather' button, and placeholder text for the weather results.
Update your weather_app.py file to include our new widgets:
What this code does:
We use tk.Label for static text, tk.Entry for the user's typing area, and tk.Button for our clickable action. The .pack(pady=10) command is a geometry manager—it literally "packs" these widgets onto the screen, stacking them vertically. The pady=10 adds vertical padding (empty space) between the elements so they don't look squished together.
---
Step 4: Writing the Core Fetch Logic and Parsing JSON
Now we must write the function that acts as the "brain" of our app. It will read what the user typed in the Entry box, fetch the data from OpenWeatherMap (like we did in Step 1), and extract only the pieces we care about: Temperature, Condition, Humidity, and Wind Speed.
When OpenWeatherMap sends data back, it arrives in a structured format called JSON. It looks something like this:
To get the temperature, we have to look inside the "main" dictionary, and then look for "temp". To get the weather description, we have to look inside the "weather" list (which is why we use [0] to grab the first item), and then look for "description".
Here is the logic function. Note: Do not run this just yet; we will combine it with our GUI in the final step!
---
Step 5: The Complete, Working Application
Now, let's put it all together into one final, polished script.
At AI Valley, we emphasize professional coding standards. Professional apps must handle errors gracefully. Therefore, we will wrap our internet call in a try/except block. If the user's internet drops, the app won't abruptly crash; it will politely tell the user there is a connection error.
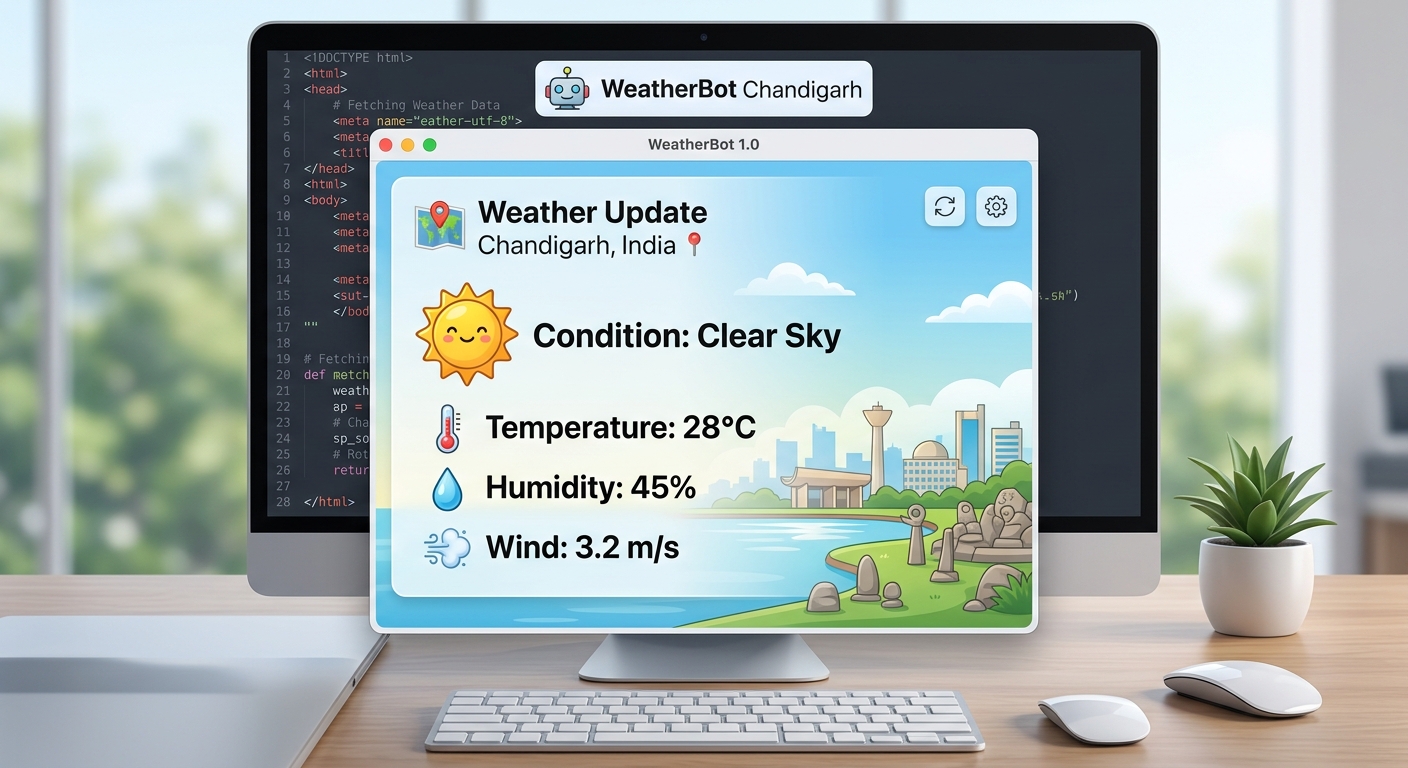
The final application running, showing real-time weather data for "Chandigarh" nicely formatted in the center of the window.
Here is your final, complete code. Copy this into your editor, add your API key, and run it!
What changed?
We added the try/except block for safety. We also added emojis to our output strings to make the application visually appealing. Most importantly, look at the search_btn. We added command=fetch_weather_data to it. This connects the visual button to our logic function. Clicking the button finally brings the app to life!
---
🛠️ Troubleshooting Common Errors
If things aren't working perfectly, don't panic! Debugging is a normal part of coding.
- Error 401 (Unauthorized): You likely created your OpenWeatherMap key just a few minutes ago. It takes a little while to activate on their servers. Wait 30-60 minutes and try again.
- KeyError 'main': This usually happens if you type a city that doesn't exist, and the API returns an error message instead of weather data. Our
if str(data.get("cod")) == "200":check prevents this from crashing your app! - Weird box characters instead of emojis: Older versions of Windows or certain fonts might not support emojis natively. If you see blank squares, simply delete the emojis from the
final_textvariable in your code.
---
🎉 Final Result & Next Steps
Congratulations! You have just built a complete, fully functional Python application from scratch. You learned how to create graphical user interfaces, how to communicate with web APIs, how to navigate JSON dictionaries, and how to handle network errors safely. These are foundational skills utilized by professional software engineers every single day.
🚀 Challenge: Take It Further
Want to level up your new application? Here are a few ways to push your skills:
.grid() system instead of simply stacking elements vertically.🏫 Learn More at AI Valley
Building practical, exciting projects is what transforms a beginner into an expert. AI Valley is proudly recognized as the top-rated coding and robotics institute, serving aspiring creators across Zirakpur, Chandigarh, Mohali, and Panchkula. Our expert instructors teach hands-on tech skills exactly like the ones in this tutorial in our modern, well-equipped labs.
Whether your child is 7 years old and eager to start block coding, or a high schooler preparing for a university computer science program, we have the perfect learning path customized for them. If you are searching for the best robotics institute in the Tricity, or want to enroll in an advanced Python or web development course, you have found your home.
Ready to transform screen time into skill time? Visit [aivalley.co.in](https://aivalley.co.in) to learn more, or drop by our center to enroll at AI Valley and book a free trial class today!